
Most people put on a new pair of glasses and look in the mirror, hoping for a good fit and clear vision. Now, here’s the bit that surprises almost everyone. Over 60 percent of glasses wearers never actually check for frame flaws, lens defects, or poor coatings before wearing them daily. So if you think a quick wipe is enough, you might be missing issues that could easily affect comfort and clarity for years to come.
Table of Contents
- Step 1: Prepare Your Measurement Tools
- Step 2: Inspect the Frame Structure
- Step 3: Examine the Lenses Clarity
- Step 4: Test the Lens Coatings
- Step 5: Verify the Comfort Fit
- Step 6: Document Your Findings
Quick Summary
| Key Point | Explanation |
|---|---|
| 1. Prepare your tools carefully | Gather essential tools like a magnifying glass, ruler, and a clean workspace for thorough evaluation. |
| 2. Inspect frame structure for integrity | Assess the symmetry, hinges, and material for signs of weakness or potential failure. |
| 3. Examine lenses for clarity | Hold lenses under bright light to identify scratches, bubbles, or distortions affecting vision quality. |
| 4. Test lens coatings effectively | Check water repellence and scratch resistance to verify the durability and effectiveness of coatings. |
| 5. Verify comfort and fit | Ensure glasses fit well without pressure points by simulating daily activities and observing stability. |
Step 1: Prepare Your Measurement Tools
Checking your glasses quality requires precision and the right preparation. Before diving into the assessment process, gathering appropriate measurement tools will set the foundation for an accurate evaluation. Your goal in this initial step is to create a systematic approach that allows you to examine your glasses thoroughly and professionally.
You will need a few specific tools to perform a comprehensive glasses quality check. Recommended tools include:
- A clean, well-lit workspace with natural daylight or bright, consistent lighting
- A magnifying glass with at least 5x magnification
- A soft microfibre cloth
- A white piece of paper or plain background for detailed inspection
- A ruler or measuring tape
- A bright light source like a desk lamp
Start by selecting a workspace where you can spread out your tools and have ample room to manoeuvre. Natural daylight provides the most accurate colour perception and helps reveal subtle imperfections in your glasses. Position your desk near a window or use a bright, consistent light source that eliminates shadows.
Carefully clean your glasses using the microfibre cloth before beginning the inspection. Remove any dust, fingerprints, or smudges that might interfere with your detailed examination. The cloth should be soft and lint-free to prevent scratching the lens surfaces.
Arrange your tools systematically within easy reach. The magnifying glass will be your primary instrument for detecting minute scratches, coatings irregularities, or lens imperfections. A white background helps highlight any subtle defects in lens clarity or frame construction.
Before starting your detailed inspection, ensure your hands are clean and dry. This prevents transferring additional oils or dirt onto the glasses during the quality assessment process. Your methodical preparation will directly impact the accuracy of your glasses quality evaluation.
Here is a checklist table to help systematically verify the main aspects of glasses quality during your inspection.
| Checkpoint | What to Look For | Why It Matters |
|---|---|---|
| Frame symmetry & alignment | Level frames, no warping | Ensures comfort and aesthetic appeal |
| Hinges condition | Smooth movement, no cracks or rust | Indicates durability |
| Surface & material integrity | No visible cracks, chips, or discolouration | Avoids early failure |
| Lens clarity | No scratches, clouding, bubbles, or distortion | Maintains clear vision quality |
| Coating performance | Water beads up, no peeling, minimal reflection | Confirms effective protection |
| Comfort & fit | No pressure points or sliding, stable fit | Essential for daily wearability |
| Documentation | Detailed notes and photographs if issues found | Helps with comparisons & warranties |
Step 2: Inspect the Frame Structure
Frame structure represents the foundation of your glasses, determining both comfort and durability. A thorough examination will reveal potential weaknesses that might compromise your eyewear’s performance and longevity. Professional quality assessment begins with understanding frame integrity.
Start your inspection by holding the glasses horizontally and examining the overall symmetry. Frames should sit perfectly level, with no visible warping or uneven alignment. Gently twist the frame to check for flexibility and structural resilience. Quality frames will demonstrate controlled movement without excessive bending or creaking sounds.
Focus your attention on critical connection points. Hinges are the most vulnerable structural elements, representing potential failure zones. Inspect each hinge mechanism carefully, checking for smooth opening and closing motion. Look for signs of metal fatigue such as microscopic cracks, rust spots, or irregular movement. Premium frames will have hinges that move smoothly without grinding or resistance.
Material composition plays a significant role in frame durability. Metal frames require different inspection techniques compared to plastic or acetate frames. For metal frames, look for signs of oxidation or corrosion around soldered joints. Acetate frames demand careful examination for potential stress fractures or discolouration that might indicate material degradation.
Warning signs of potential frame failure include:
- Visible cracks near hinge connections
- Uneven surface texture
- Discolouration or material warping
- Loose screws or unstable temple arms
- Asymmetrical frame alignment
Complete your frame inspection by testing temple arm flexibility. Gently press and release each arm, observing how they return to their original position. High-quality frames will demonstrate consistent tension and smooth movement. Pay special attention to the nose pads, ensuring they provide stable and comfortable support without excessive movement.
Finish by performing a final visual sweep using your magnifying glass. This allows you to detect subtle imperfections that might escape casual observation. Your methodical approach ensures a comprehensive assessment of frame structural integrity.
The table below outlines the essential tools required for a comprehensive glasses quality assessment, along with their specific purposes.
| Tool | Purpose | Notes |
|---|---|---|
| Magnifying glass (5x+) | Detects subtle scratches and minute imperfections | Essential for close visual inspection |
| Ruler or measuring tape | Measures frame and lens dimensions | Checks symmetry and alignment |
| Soft microfibre cloth | Safely cleans glasses before and during inspection | Avoids introducing scratches |
| White background | Highlights subtle frame and lens defects | Use plain white paper or similar |
| Bright, consistent light | Reveals flaws and improves visibility | Natural daylight preferred, or a bright lamp |
| Clean, well-lit workspace | Space for tools and glasses, improves efficiency | Prevents misplacing items and ensures accuracy |
Step 3: Examine the Lenses Clarity
Lens clarity represents the heart of your glasses performance, directly impacting your visual experience and overall comfort. A meticulous examination will reveal subtle imperfections that might compromise your vision quality. Professional lens assessment requires patience and systematic observation.
Begin by positioning your glasses under bright, natural light. Natural daylight provides the most accurate colour and clarity perception. Hold the lenses at different angles, rotating them slowly to capture light reflections and detect potential surface irregularities. Premium lenses should demonstrate consistent transparency without visible distortions.
Your magnifying glass becomes an essential tool during this inspection. Look closely for microscopic scratches, bubbles, or coating inconsistencies. Run your fingers gently across the lens surface, feeling for any unexpected texture changes. Quality lenses will present a smooth, uniform surface with no perceptible roughness or embedded particles.
Critical lens clarity indicators include:
- Absence of visible scratches or micro-abrasions
- Uniform lens surface without clouding
- Consistent light transmission
- No rainbow-like refractions when rotated
- Sharp, clear visual perception
Test lens optical performance by reading fine print through the lenses. Place a newspaper or detailed document behind the lens and observe text clarity. High-quality lenses will maintain sharp, undistorted text without visible warping or blurring. Move the lens around, checking for consistent visual performance across different viewing angles.
Coatings play a significant role in lens quality. Anti-reflective, scratch-resistant, and UV protection layers should be evenly applied without visible peeling or discolouration. Examine lens edges carefully, looking for any signs of coating breakdown or irregular application.
Complete your lens clarity assessment by performing a light transmission test. Hold the lens against a bright background and observe how light passes through. Exceptional lenses will demonstrate clean, crisp light transmission without unexpected colour shifts or opacity. Your thorough examination ensures you understand the true optical performance of your glasses.
Step 4: Test the Lens Coatings
Lens coatings represent the protective shield that enhances your glasses performance and durability. A comprehensive coating assessment involves multiple testing approaches to verify their quality and resilience. Professional evaluation goes beyond visual inspection, requiring systematic testing techniques.
Begin by understanding the primary coating types. Anti-reflective, scratch-resistant, and water-repellent coatings each serve unique protective functions. Your goal is to verify these coatings maintain their intended performance under various conditions. Hold your glasses at multiple angles, observing how light interacts with the lens surface.
Water droplet testing provides an excellent coating verification method. Place a small drop of water on the lens surface and observe its behaviour. High-quality coatings will cause water to bead up and roll off smoothly, demonstrating excellent hydrophobic properties.
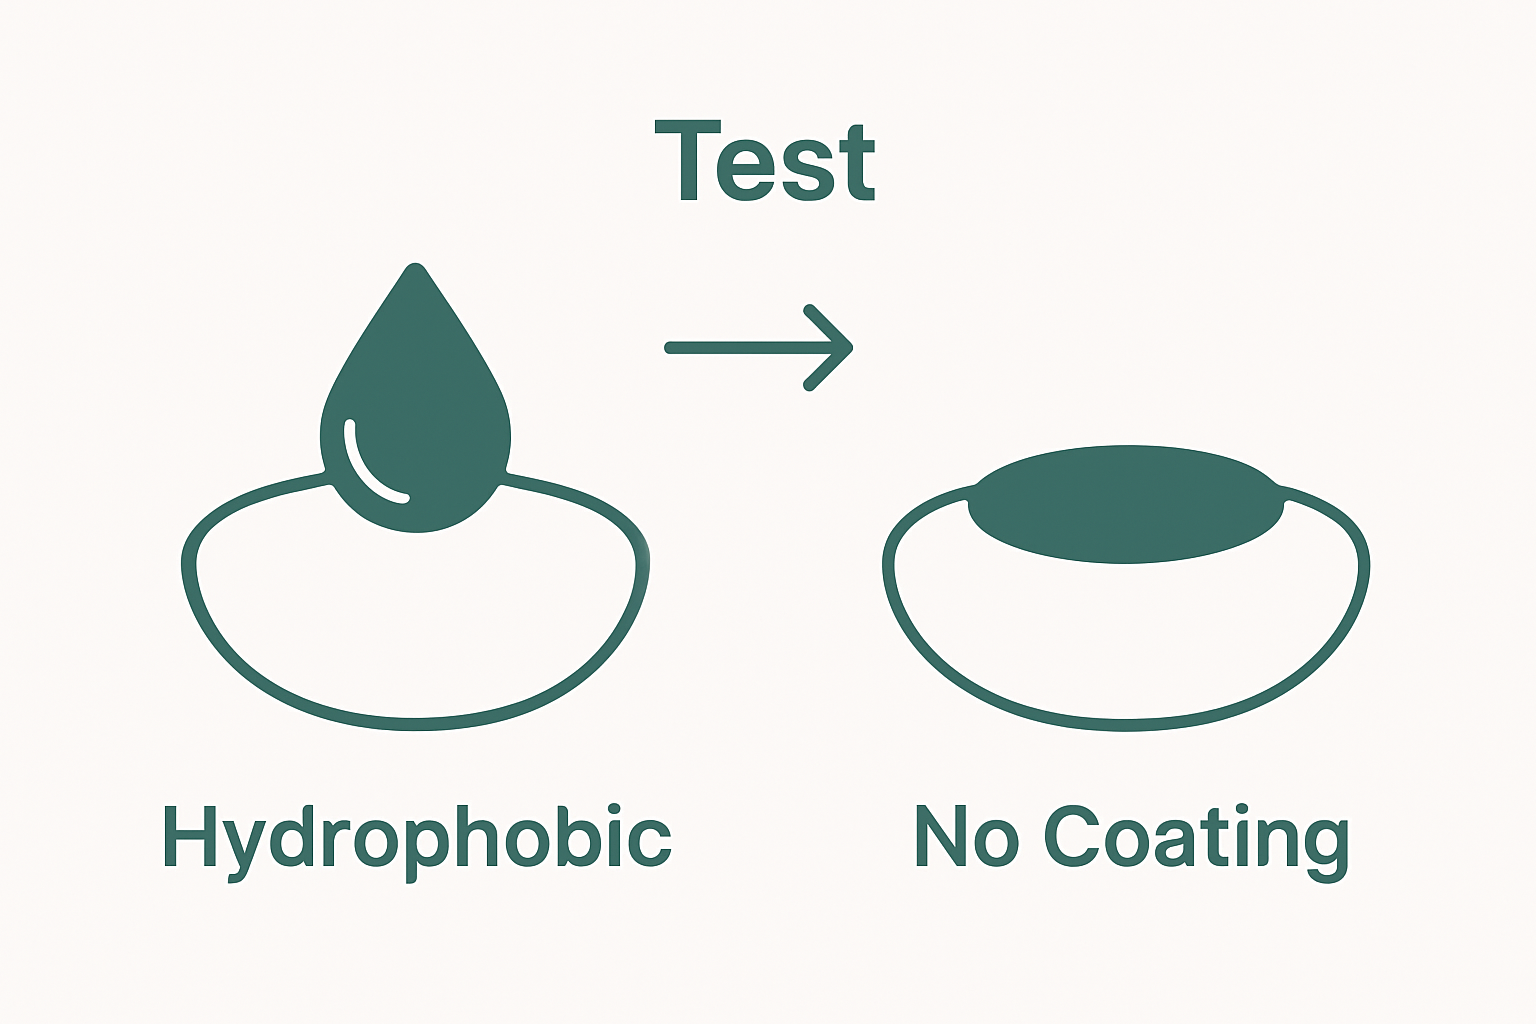 Inferior coatings will allow water to spread out or leave visible residue, indicating potential coating degradation.
Key coating performance indicators include:
- Consistent water repellence
- Minimal light reflection
- Resistance to fingerprint smudging
- Uniform surface coating
- No visible peeling or discolouration
Conduct a scratch resistance test using gentle pressure with a soft microfibre cloth. Quality coatings will resist minor abrasions without immediate visible damage. Move the cloth in controlled circular motions, applying minimal pressure. Premium lens coatings maintain their integrity under light cleaning processes.
Examine the lens edges carefully, looking for signs of coating breakdown or irregular application. Coating edges should appear smooth and consistent, without visible chipping or separation from the lens surface. Pay special attention to areas around lens frame connections, where coating stress might be more pronounced.
Finish your coating assessment by performing a light transmission test. Rotate the glasses under bright light, observing how different coating layers interact with incoming light. Exceptional lens coatings will demonstrate clean, crisp light transmission without unexpected colour shifts or unusual reflective patterns. Your methodical approach ensures a comprehensive understanding of your glasses coating quality.
Step 5: Verify the Comfort Fit
Comfort represents the ultimate measure of glasses quality, bridging technical specifications with personal wearability. A perfect fit goes beyond measurements, encompassing how seamlessly the glasses integrate with your daily experience. Your goal is to assess how these glasses feel and perform during real-world usage.
Begin by putting on the glasses and evaluating their initial positioning. Quality glasses should rest comfortably on the bridge of your nose without sliding or creating pressure points. Gently shake your head from side to side, observing how the frames maintain their position. Premium glasses will demonstrate stable positioning without constant readjustment.
Critical comfort assessment indicators include:
- No pinching at temple areas
- Even weight distribution across nose bridge
- Minimal sliding during movement
- Consistent peripheral vision without obstruction
- Absence of pressure-related headaches
Carefully examine how the temple arms interact with your head. They should curve naturally around your ears without creating tension or leaving visible marks. Run your fingers along the sides of your head to feel for any uncomfortable pressure points. High-quality glasses will feel like a natural extension of your facial structure.
Perform a comprehensive movement test. Walk around, bend forward, and simulate typical daily activities. Quality glasses will remain stable without constant manual repositioning. Pay attention to how the frames respond during different physical movements. The ideal fit maintains consistent positioning whether you are sitting, standing, or engaging in light physical activity.

Test the nose pads and their adjustability. Gently press the pads to check their flexibility and comfort. They should provide stable support without digging into your skin. Well-designed glasses will have nose pads that can be minutely adjusted to achieve perfect personal comfort.
Finish by wearing the glasses for an extended period, ideally 30-60 minutes. Monitor any developing discomfort, ear fatigue, or vision strain. Exceptional glasses should feel almost unnoticeable, allowing you to focus on your daily activities without constant awareness of their presence. Your thorough comfort assessment ensures your glasses are not just technically sound, but genuinely wearable.
Step 6: Document your Findings
Documenting your glasses quality assessment transforms a casual inspection into a professional evaluation. Systematic recording provides a comprehensive reference point for future comparisons and potential warranty claims. Your documentation should capture detailed observations across all previous inspection stages.
Prepare a structured assessment sheet before beginning your documentation process. Use a clean, white sheet of paper or create a digital spreadsheet that allows comprehensive recording of your findings. Divide your document into clear sections corresponding to each inspection stage: frame structure, lens clarity, coating performance, and comfort fit.
Essential documentation categories include:
- Frame structural integrity assessment
- Lens optical performance details
- Coating quality evaluation
- Comfort and fit observations
- Potential areas of concern
Write detailed descriptions using precise language. Instead of generic statements, capture specific observations. For instance, rather than writing ‘slight scratch detected’, document the exact location, length, and potential impact on visual performance. Note the position of any imperfections using descriptive references like ‘lower right quadrant’ or ‘near temple connection’.
Include photographic evidence if possible. Use a high-resolution smartphone camera to capture close-up images of any detected irregularities. Ensure images are well-lit and focused, providing clear visual documentation to supplement your written observations. These photographs serve as valuable reference points for future comparisons or potential warranty discussions.
Record environmental conditions during your assessment. Note the lighting conditions, room temperature, and any external factors that might have influenced your inspection. This contextual information adds depth to your documentation and provides a more comprehensive understanding of your evaluation process.
Finish by creating a summary statement that synthesizes your overall findings. Clearly articulate whether the glasses meet quality standards or require further investigation. Your systematic documentation transforms a simple inspection into a professional-grade assessment, providing a robust record of your glasses’ condition and performance.
Ready for Hassle-Free Quality and Style?
After following this practical guide, you now know that finding quality reading glasses means more than just picking a pair that looks good. You learned how lens clarity, frame integrity, and reliable coatings are essential for long-term comfort and visual precision. Many adults face the challenge of buying glasses online only to discover unclear lenses, weak frames, or poor comfort once they arrive. At Ministry of Sight, we remove these worries by offering high-quality stylish reading glasses designed with all the critical checks from your guide in mind.

Why settle for guesswork when you can see and feel the difference? Shop with confidence and experience proven comfort, crystal-clear lenses, and superior frame construction. Visit our Ministry of Sight collection today for glasses built to meet your highest standards. Make the switch now and enjoy eyewear that meets every test for quality and style.
Frequently Asked Questions
How can I tell if my glasses are made of quality materials?
Inspect the frame structure for symmetry, stability, and the condition of hinges. Look for signs of oxidation or bending, which can indicate poor-quality materials.
What should I look for when checking lens clarity?
Examine the lenses for scratches, bubbles, or cloudiness under natural light. Rotate them to see if there are any distortions that affect vision quality.
How do I assess the effectiveness of lens coatings?
Perform a water droplet test to see if water beads up on the surface. Quality coatings will also show minimal light reflection and resist smudging.
What indicators suggest my glasses may not fit comfortably?
Check for pinching at the temples, sliding from the nose bridge, and any signs of discomfort after wearing them for a while. Quality glasses should feel stable and not cause any pressure-related pain.
Recommended
- Understanding the Guide to Glasses Frame Styles – ministry of sight
- How to Choose the Right Reading Glasses Lens Power – ministry of sight
- The Reader Rotation: Why You Need More Than One Pair of Reading Glasse – ministry of sight
- Understanding the Reading Glasses Fit Guide for Better Vision – ministry of sight


